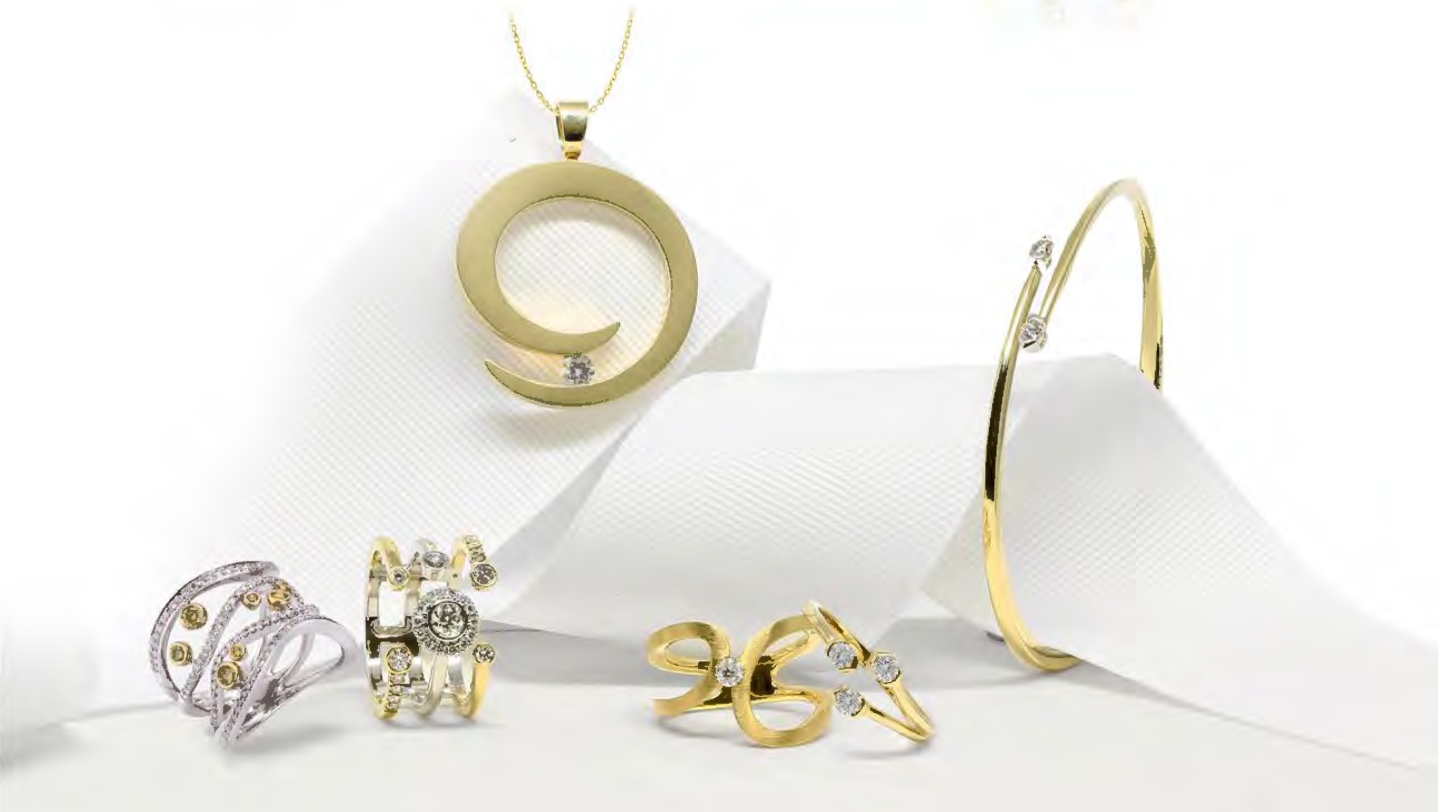
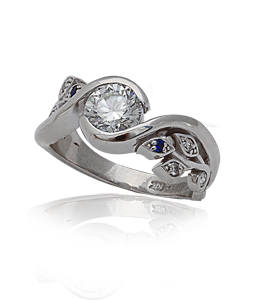
Whether you’re a store owner or an independent jewelry designer, showcasing your pieces effectively is essential for reaching your audience. Quality jewelry photos are key to highlighting the beauty of your creations. While hiring a professional photographer ensures top-notch results, especially for large-scale print advertisements, it can be costly. Achieving crisp, detailed images often requires expensive equipment like macro lenses and specialized photography skills. However, for online stores featuring unique pieces or frequently changing inventory, this may not be feasible. Thankfully, there are numerous budget-friendly options available to set up a photography setup that delivers decent results without breaking the bank.
Step 1: Taking your photos
In this guide, we’ll discuss a setup that we find both convenient and budget-friendly for small-scale jewelry photography. While a professional photographer can often capture images with minimal post-processing, a more affordable setup may necessitate additional touch-ups in software like Photoshop.
Step 2: Cleaning up your images
Refining and enhancing your images is crucial, sometimes even more so than the initial capture, especially if your photography setup isn’t perfect or if you lack formal training. You have the option to clean up the images yourself or enlist the help of a professional for Photoshop editing services. If you need some tips on how to clean up your jewelry photography, read our article about jewelry clean up in Photoshop >>
Photoshop Touch-Up Services

If you do not have a person on staff who can clean up your jewelry for you, we would be glad to do it for you. Email us your photos and we can touch it up and remove the background for you. Prices will charged an hourly rate since time per piece will depend on simplicity of the pieces.
The Camera:
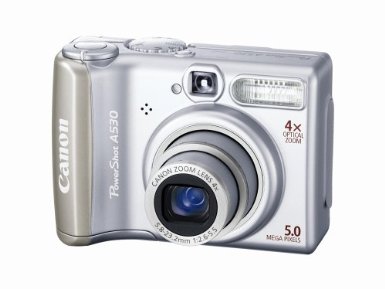
There are several types of cameras available, including automatic, semi-manual digital cameras (point and shoot), and Digital SLR (Single Lens Reflex) cameras. However, for the purposes of this article, we will focus on automatic and semi-manual digital cameras, as DSLR cameras tend to be pricier, more complex to operate, and require some photography knowledge.
Point and shoot cameras are fully automatic and widely recognized by most people. They come in various price ranges, with options available for as little as $25. When purchasing a camera, there are a few factors to consider. While we may not be experts in cameras, your local sales associate can assist you in determining your specific needs.
Update: With the advancements in cell phone technology, newer iPhones often include a macro function in their cameras. Utilizing this feature or investing in macro lenses designed for iPhones can provide a viable alternative for capturing high-quality close-up shots.
Some important camera functions for jewelry photography:
Mega Pixel: While many emphasize the number of mega pixels their camera possesses, for website purposes, even a 3MP camera suffices. Given that computer monitors typically operate at a 72 resolution, high mega pixel count isn’t imperative. More mega pixels equate to increased pixels per inch, resulting in larger print sizes rather than inherently better quality.
Here are some examples as a guideline:
- Computer Monitors / Non-retina – 1-3 mega pixels
- 6×4 prints – 2 mega pixel
- 10×8 inch prints – 5 mega pixel
- 14×11 inch prints or larger – 7 mega pixels and up
Macro Mode: This mode allows for closer shots of objects, making it essential for jewelry photography. Recognizable by the “Tulip” symbol on your camera, it enables you to capture intricate details with precision.
F-stop or Aperture: The f-stop or aperture setting regulates the depth of field on a camera.
DSLR Cameras:
DSLR cameras offer an ideal solution for those who are more serious about their photography and have a moderate budget to invest. There are beginner models available that provide excellent results, bridging the gap between amateur and professional equipment effectively.
While DSLR cameras may have a steeper learning curve, they are capable of producing professional-grade results. The Canon EOS Rebel series, for example, is renowned for its performance and accessibility, making it an excellent choice for beginners.
In jewelry photography, a macro lens is essential for capturing intricate details up close. We utilize a 100mm macro lens for our jewelry photography, allowing us to achieve sharp and detailed shots that showcase the beauty of our pieces effectively.
The Set-Up:
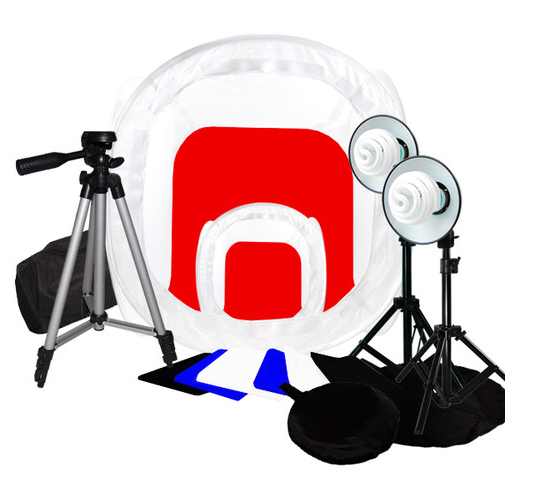
To mitigate reflections from the surrounding environment on polished jewelry, employing a light box is essential.
The “Almost-No-Budget” Solution: A makeshift light box can be fashioned from a cardboard box with the interior painted white. Alternatively, some utilize a fishbowl sprayed with frosted finish spray paint, creating a diffused lighting dome.
The Soft Box: Online options offer portable soft boxes for as little as $10. We favor this choice for its portability and ability to be folded away when not in use. The fabric side walls of the soft box facilitate the diffusion of light, providing optimal lighting conditions.
The Lighting: Ideally, photographing jewelry in natural daylight outdoors yields the best results. However, if this isn’t feasible, investing in a lighting kit or utilizing clamp lights from a hardware store with bell-shaped reflectors and 5000K daylight balanced bulbs can suffice.
For smaller items, utilizing a diamond color-grading box may offer a suitable alternative for capturing detailed photographs.
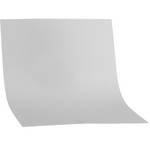
The Backdrop: The soft boxes come with backdrops in different colors. For jewelry though, we prefer a more solid option. You can use a piece of Plexiglas or some thicker cardboard, a piece of frosted glass etc.
If you have a Plexiglas company in the area, ask them to bend a white sheet with a curve of about 85 degrees to achieve an endless backdrop and you can hang chain and necklaces on the back, drill holes for earring posts etc. The advantage to a hard surface is that you will be able to get holding wax and position your rings in an upright position.
The Tripod: Always use a tripod! Almost anything can be fixed in Photoshop but not a blurry image. Be sure to always use a tripod and if your camera has the option, use the time-delayed function to avoid camera shake.
If you are using a point-and-shoot light camera, the small tripods will do the trick but if you have one of the SLR cameras, you will need something more sturdy that won’t fall over and damage your camera.
Things to consider:
- Make sure there are no fingerprints on your pieces. The same is true with any lint that might have gotten caught in a prong.
- Where is the reflection of the light? Is the light directly hitting the stones, creating a white stone? Or windowing in the gemstone?
- How is your angle? Are you showing the top of the ring or also its shank? Do you want to show the side view as well?
- If you are shooting Opals, you might need an additional LED flashlight to bring out some of the color play.

